
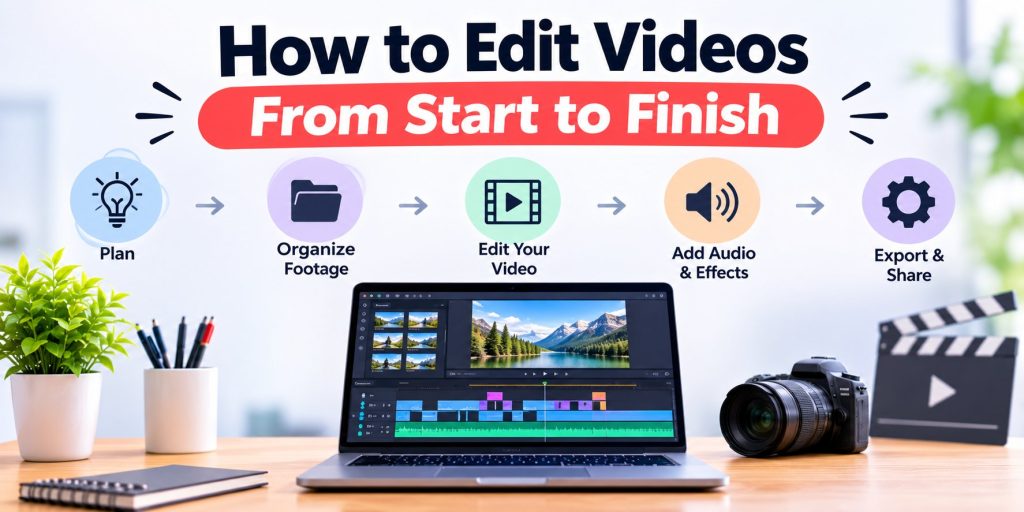
Editing a video involves more than putting clips together and adding music. A finished video needs a clear structure, well-paced scenes, consistent visuals, balanced audio, and export settings suited to its intended platform. Whether you are creating a YouTube video, a product demonstration, a short film, or a social media post, following a structured editing process helps you manage each stage without losing sight of the final result.
The process becomes particularly important when working with large amounts of footage. Without a clear plan, editors can spend hours searching for usable takes, rearranging clips, and correcting small issues. This guide covers the complete video editing workflow, from planning and organizing footage to refining the final cut and exporting a finished video.
1. Plan the Video Before Editing
Before opening an editing application, decide what the video needs to communicate. Its purpose influences almost every editing decision, including the length, pacing, visual style, and soundtrack. A product demonstration, for example, may need to explain a few important features in a logical order. A YouTube vlog might follow a chronological sequence, while a promotional video may introduce the main benefit before showing supporting details.
Start by outlining the main sections of the video. Identify how it should open, what information or story it needs to cover, and how it should end. You do not always need a detailed script. Even a basic outline can help you understand which footage belongs in each section and prevent the edit from becoming unfocused.
It is also worth considering the intended audience and platform. A tutorial may need a slower pace and clear explanations, while a short social media video may require a more direct opening. Planning these details early gives the editing process a clear direction.
2. Organize Your Footage and Project Files
Once you have a structure, prepare the files you will use. This includes camera footage, audio recordings, images, logos, graphics, music, and other supporting material. Keeping everything organized makes it easier to locate specific clips and reduces interruptions during editing.
Create a main project folder and separate the files into categories such as raw footage, audio, images, graphics, music, and exports. If you are working with multiple cameras or recording sessions, label the footage by scene, date, or camera angle. Descriptive filenames are also more useful than default camera filenames when searching for a particular shot.
💡 Check Your Media Before Starting
Before importing everything into the editing timeline, check that the files play correctly and that the audio is available. If you are working with a large project, keep a backup of the original recordings. It is also helpful to separate source footage from edited versions so that you can return to the original material whenever necessary.
3. Review Footage and Select the Best Takes
Footage review is often one of the most time-consuming stages of video editing. A single recording session may contain repeated takes, pauses, false starts, background activity, and several versions of the same shot. The goal is to identify the moments that contribute to the final video without spending unnecessary time reviewing the same material repeatedly.
Watch the recordings and mark sections with clear dialogue, useful reactions, strong camera angles, or visuals that support the intended story. For interviews and talking-head videos, compare repeated takes rather than automatically choosing the first usable version. One take may have clearer delivery, while another may have more natural pacing or expression.
AI-assisted editing tools can help organize this process. Invideo editor combines a professional editing timeline with AI-supported workflows for reviewing footage, selecting usable takes, removing repetition, and assembling an initial cut. It also allows editors to generate B-roll footage or source relevant stock clips without leaving the editing environment. Users can describe the visuals a scene needs, and the system can create custom B-roll using more than 200 AI models or find suitable footage from an extensive stock library.
AI can also place and time these supporting clips across the timeline, helping editors add relevant visuals without manually searching for and arranging every shot.
The initial selection still needs editorial review. Automated assistance can help identify and arrange potential clips, but the editor must decide which moments communicate the message most effectively.
4. Create the First Cut of Your Video
The first cut, often called a rough cut, establishes the basic sequence of the video. At this stage, focus on arranging the selected footage in the right order rather than polishing every transition or visual detail.
Place the opening, main sections, supporting shots, and ending on the timeline. Remove obvious mistakes, long pauses, repeated statements, and sections that do not contribute to the story. If you are editing an interview, make sure the conversation remains understandable after unnecessary sections are removed.
Avoid spending too much time on small details during this stage. The main goal is to create a complete version that communicates the intended idea from beginning to end. Once the sequence is in place, watch the rough cut without stopping after every edit. This helps you identify sections that feel disconnected, repetitive, or out of order.
👉 Check the Story Flow
Pay attention to how one scene leads into the next. A video may contain good individual shots but still feel confusing if the sequence lacks a clear connection. Rearrange sections where necessary and check whether viewers can follow the information without additional explanation.
5. Refine the Pacing and Transitions
Once the basic structure works, focus on the rhythm of the edit. Pacing determines how quickly information is presented and how much time viewers have to understand each scene. A tutorial may need longer shots so viewers can follow each step, while a short promotional video might use quicker cuts to maintain momentum.
Remove unnecessary pauses and repeated information, but avoid cutting so aggressively that conversations feel unnatural. In interviews, leave enough space for speakers to finish their thoughts. In action sequences, consider how the timing of each shot affects the movement and energy of the scene.
Transitions should support the sequence rather than draw attention away from it. A straightforward cut is often sufficient when moving between related shots. Crossfades can work for certain changes in time or mood, while more noticeable transitions may suit stylized social media content.
Also check continuity between adjacent clips. Pay attention to movement, screen direction, camera angles, and changes in lighting. Small inconsistencies can make a sequence feel disconnected even when the individual shots look good.
6. Correct Colors and Add Visual Elements
After refining the edit, review the visual quality of the footage. Clips recorded in different lighting conditions or on different cameras may have noticeable differences in exposure, white balance, and color. Color correction helps bring these shots closer together so the video looks consistent.
👉 Apply Color Correction and Grading
Start with basic adjustments to exposure, contrast, temperature, tint, and saturation. Compare shots that appear next to each other to make sure their brightness and colors feel balanced. Once the footage is corrected, apply color grading to establish the overall mood. Warmer tones may suit a personal or nostalgic story, while cooler tones can support a more restrained or dramatic visual style.
Avoid applying the same strong color effect to every shot without checking the results. The goal is to create a consistent look that supports the subject and atmosphere of the video.
👉 Add Titles, Captions, and Graphics
Next, add titles, lower thirds, subtitles, logos, and other graphics where they help viewers understand the content. Keep text readable and avoid filling the screen with unnecessary elements. If you are preparing a vertical video, check that captions and important graphics remain visible within the platform’s display area.
7. Edit and Mix the Audio
Audio quality has a major influence on how professional a video feels. Even well-shot footage can be difficult to watch if dialogue is unclear or background music is too loud. Begin by listening to the dialogue and identifying distracting noises, inconsistent volume levels, or sections that need adjustment.
If multiple microphones were used, compare the recordings and select the clearest source. Adjust dialogue levels so that speech remains consistent throughout the video. Background music should support the content without competing with the speaker. Lower its volume during dialogue and adjust it during quieter sections where appropriate.
Sound effects can emphasize actions, scene changes, or important moments, but excessive use can make the video feel cluttered. After mixing, listen to the complete edit with headphones. Check for sudden volume changes, unwanted silence, clipped dialogue, and abrupt music endings.
8. Add Captions and Prepare Platform-Specific Versions
Captions make videos easier to follow, particularly when viewers watch without sound. They are useful for interviews, tutorials, product demonstrations, and videos containing technical terms. You can create captions manually or use automatic transcription as a starting point.
Review the generated text carefully. Correct spelling, punctuation, names, and timing, and make sure each caption appears when the corresponding dialogue is spoken. Keep the text large enough to read on mobile screens without covering important parts of the footage.
The final layout should also match the intended platform. A horizontal video may work well for YouTube, while Instagram Reels, TikTok, and YouTube Shorts generally use vertical formats. If you plan to publish the same content across several platforms, create separate versions and adjust the framing, captions, and graphics for each one.
9. Review and Export the Final Video
Before exporting, watch the complete video from beginning to end. Reviewing the project as a viewer helps you catch problems that may go unnoticed while editing individual clips. Check the opening, scene transitions, dialogue, captions, music, and ending. Make sure there are no missing frames, accidental black screens, unfinished titles, or audio issues.
👉 Choose the Right Export Settings
Export settings depend on where the video will be published and how it will be viewed. Resolution, frame rate, aspect ratio, and file format should match the requirements of the destination platform. MP4 with H.264 encoding is a common choice for general online video delivery, while other formats may be appropriate for specific production or post-production workflows.
Avoid choosing the highest settings automatically. Larger files take longer to upload and may not provide a noticeable improvement for the intended viewing environment. If possible, export a short test first and check the result on a phone or computer before rendering the complete project.
Conclusion
Editing a video from start to finish becomes easier when each stage has a clear purpose. Planning gives the project direction, organized footage makes editing manageable, and a rough cut establishes the story. Refining the pacing, sourcing or generating relevant B-roll, correcting visuals, mixing audio, and reviewing the export helps turn the initial sequence into a complete video.
AI-assisted editing can support repetitive tasks such as reviewing footage, finding supporting visuals, and assembling an initial cut, while a professional timeline gives editors room to refine the details. The most effective workflow combines these tools with careful editorial decisions, ensuring the final video is clear, consistent, and suited to its intended audience.
